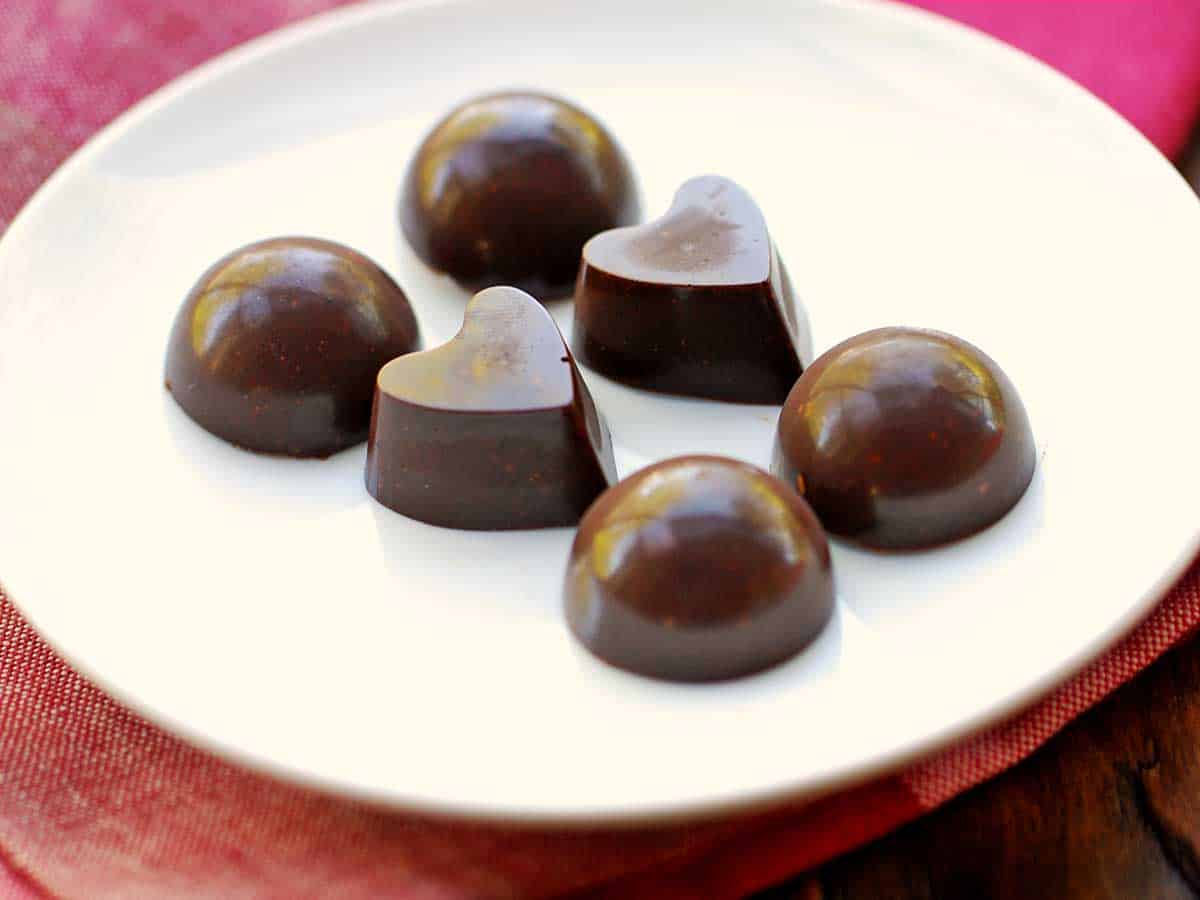
It’s very easy to make, and it tastes amazing thanks to the coconut oil, although you can opt for cocoa butter to make it less melty. Making your own chocolate is easy. And when you make it at home, you know exactly what goes into it and you can also add tasty additions such as your favorite chopped nuts. It’s also a fun recipe to make! My kids LOVE helping me make it, and I’m happy to enlist their help. They love pouring the warm melted mixture into the molds, then watching it magically turn into pretty chocolate bonbons.
Ingredients
You’ll only need four ingredients to make your own homemade chocolate! Don’t you just love recipes with a short ingredients list? Here’s an overview of what you’ll need - the exact measurements are included in the recipe card below: Virgin coconut oil: I love the wonderful flavor it gives the chocolate. You could also use food-grade cocoa butter for a more stable chocolate that doesn’t need to be refrigerated. See the discussion below. Unsweetened cocoa powder: I prefer Dutch-processed cocoa powder which is milder and not as acidic as natural cocoa powder. But if all you have on hand is natural cocoa powder, that should work too. Honey: I find that just 2 tablespoons are the perfect amount. They give this chocolate the perfect dose of sweetness - not overly sweet, but also not too bitter. Chopped nuts: You can omit them, but they do enhance the chocolate, both in terms of flavor and in terms of texture. Make sure the nuts are unsalted unless you think you will like the sweet-salty combination.
Instructions
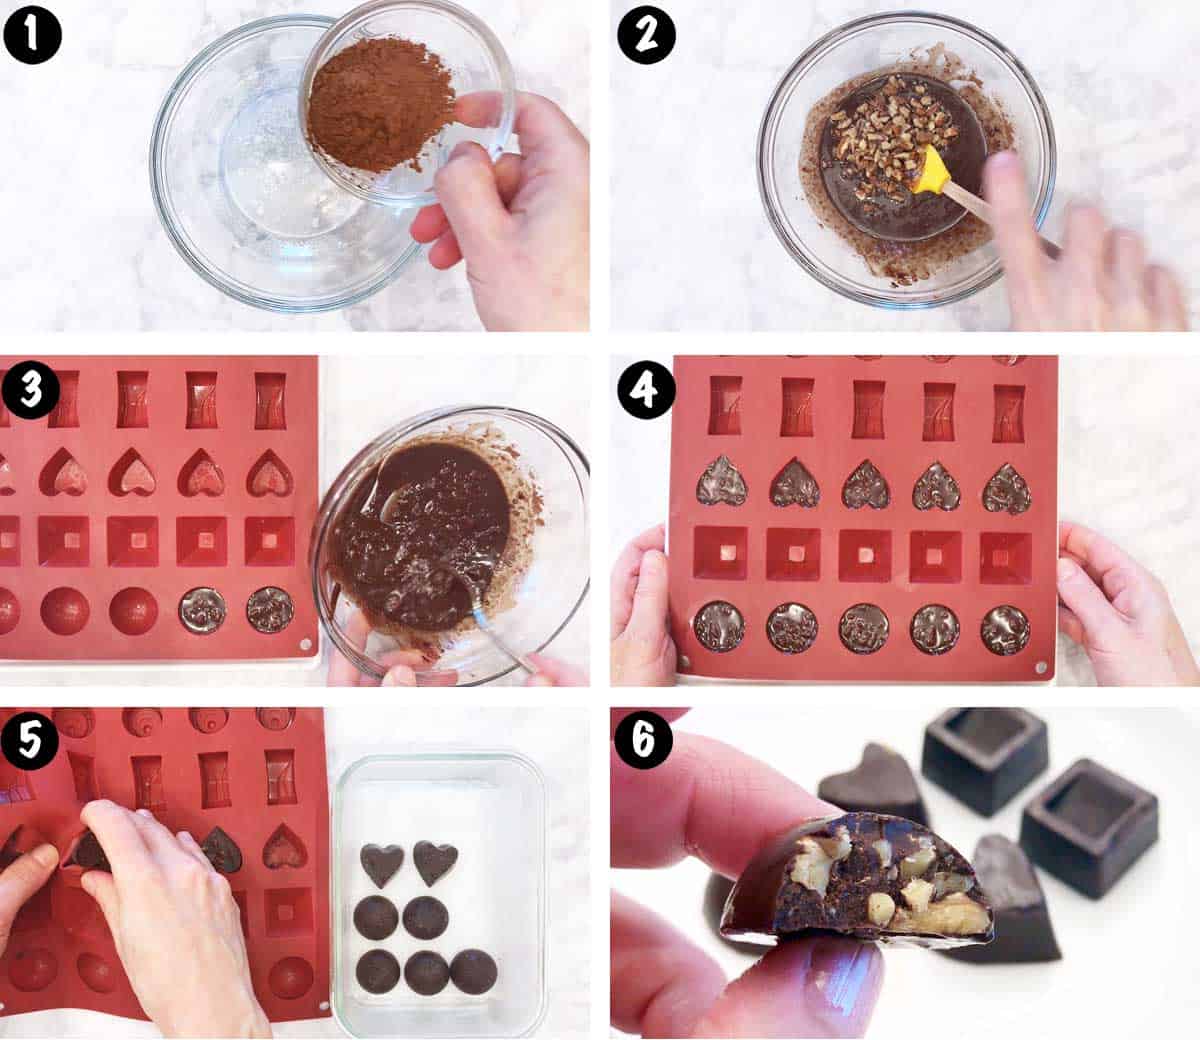
How to make homemade chocolate? It’s surprisingly easy! So easy, in fact, that it’s a great activity to do with your kids. Depending on their age, I find that they need very minimal supervision when making it. The detailed instructions for making this recipe are included in the recipe card below. Here are the basic steps:
- Melt the coconut oil in the microwave, then gradually stir in the cocoa powder, honey, and nuts. You can also use the stovetop for melting the oil over low heat, but the microwave is faster and easier.
- Pour the mixture into a candy silicone mold (a product link is included in the recipe card below). These molds are flimsy, so it’s a good idea to place the mold on a tray or a pan that would fit in your freezer.
- Freeze the chocolate until set. This should take between 20-30 minutes. I’m impatient, so I usually take them out after 20 minutes, even though they tend to still be quite melty at this point.
Frequently asked questions
Variations and substitutions
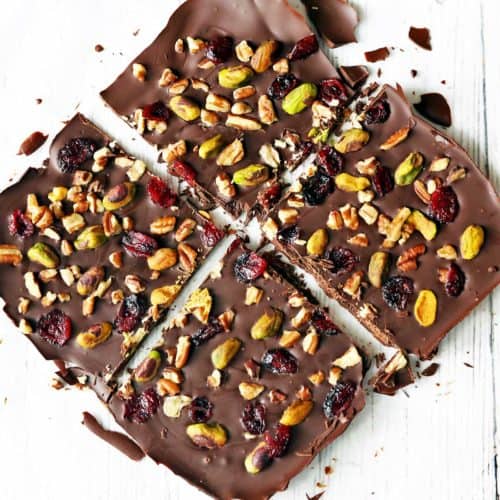
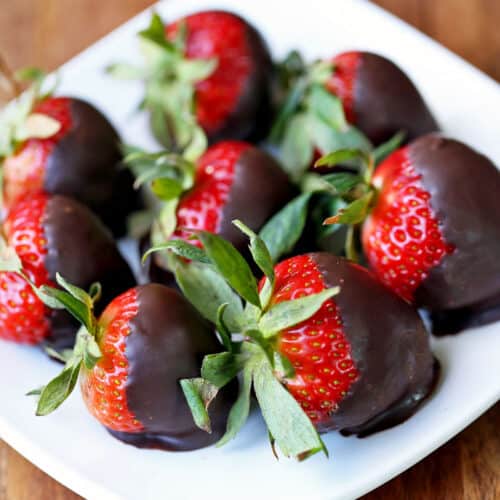
I love this recipe as is and almost always make it as written. But in case you’d like to vary the basic recipe, here are a few ideas for you:
Related recipes
👩🏻🍳 I typically publish a new or an updated recipe once a week. Want these recipes in your inbox? Subscribe! You can unsubscribe at any time.
Recipe card
❤️ Let’s connect! Follow me on Pinterest, Facebook, TikTok, YouTube, Instagram, or Twitter.